
I Am Ready for My Valentines Tutorial

I knew as soon as I saw this adorable 3D Valentine Mail Box by Lori Whitlock in the Silhouette Online Store I would want to make it. As usual Lori’s files come in several pieces including a base and decorative pieces….isn’t that fabulous ! This one is actually 7 1/2″ High X 4 1/4″ W X 4 1/4″ D. Since all those pieces can be confusing to put together, I wanted to share a quick tutorial on how I put it together and my tips for 3D project assembly .
Valentine Mailbox Tutorial
Step 1 Open the VALENTINE MAILBOX file on the Silhouette screen mat. You will notice that since the pieces are pretty large, you need to ungroup the entire file, then group individual pieces and move them off to the side. Only putting the pieces you want to cut on the actual screen mat. See how I have 1 side of the box base on my mat and the other images are off in the sidelines waiting their turn at being on the mat and cut 🙂

Notice now that on the mat I have switched the box base piece out for some of the top pieces and ready to cut out. Repeat this with the remaining pieces of the mailbox. Tip: Some of the shapes in the file make up the base of the box which I cut out of cardstock and the other pieces are the decorative part of the box which I cut out of patterned paper.

Step 2. After you cut the two box base pieces, you need to adhere the two pieces together so they match up. Tip: My preference is to use ScorTape to put my 3D projects together. It holds better and is “ready dry” instead of using liquid glue and less messy.

Tip: I prefer to add my decorative patterned paper to the base of my shapes BEFORE I start assembling them.

Step 3. After you adhere the box sides together, it will have an open bottom on it. There is a square piece that you cut out and place on the bottom of the box base to close it up.
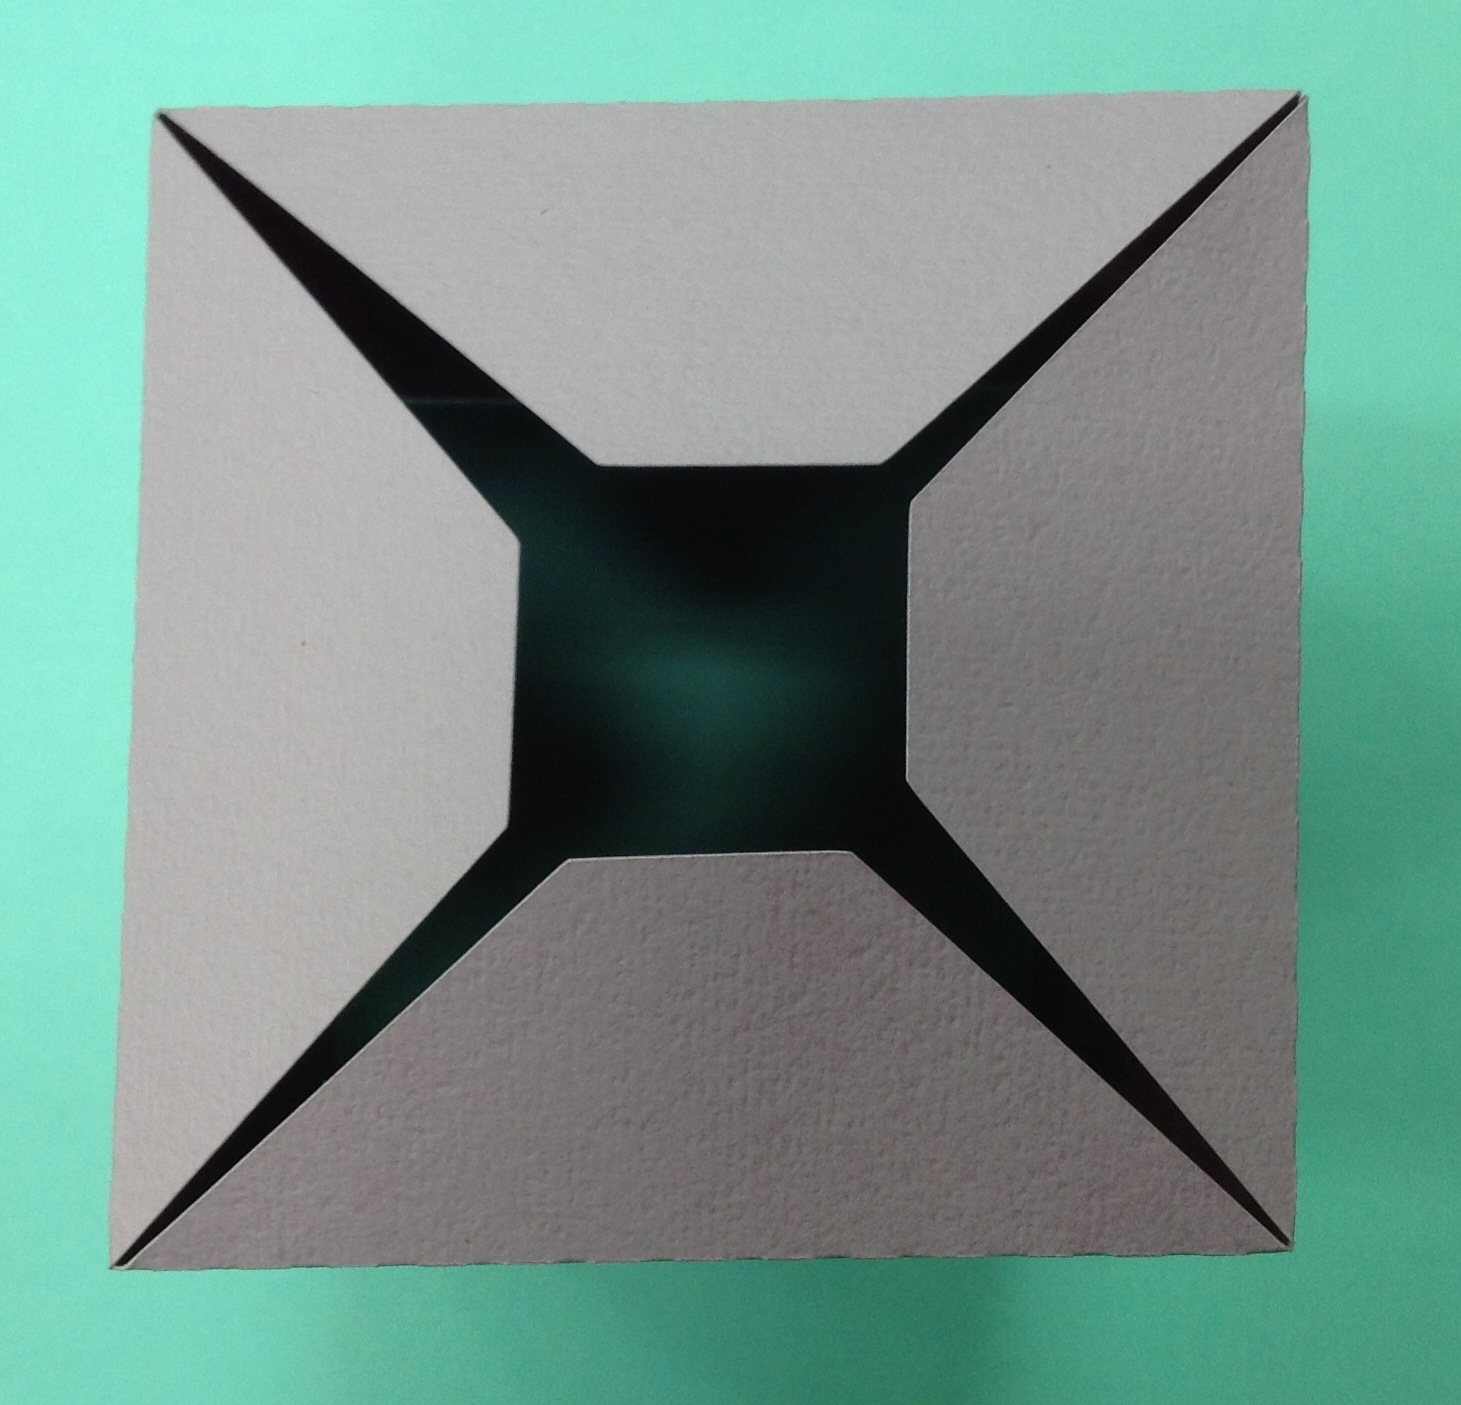 This is what the box bottom looks like after you adhere the square piece over this open bottom of the base. Tip: Make sure and line up the edges around the outside so that your box bottom is squared up all the way around.
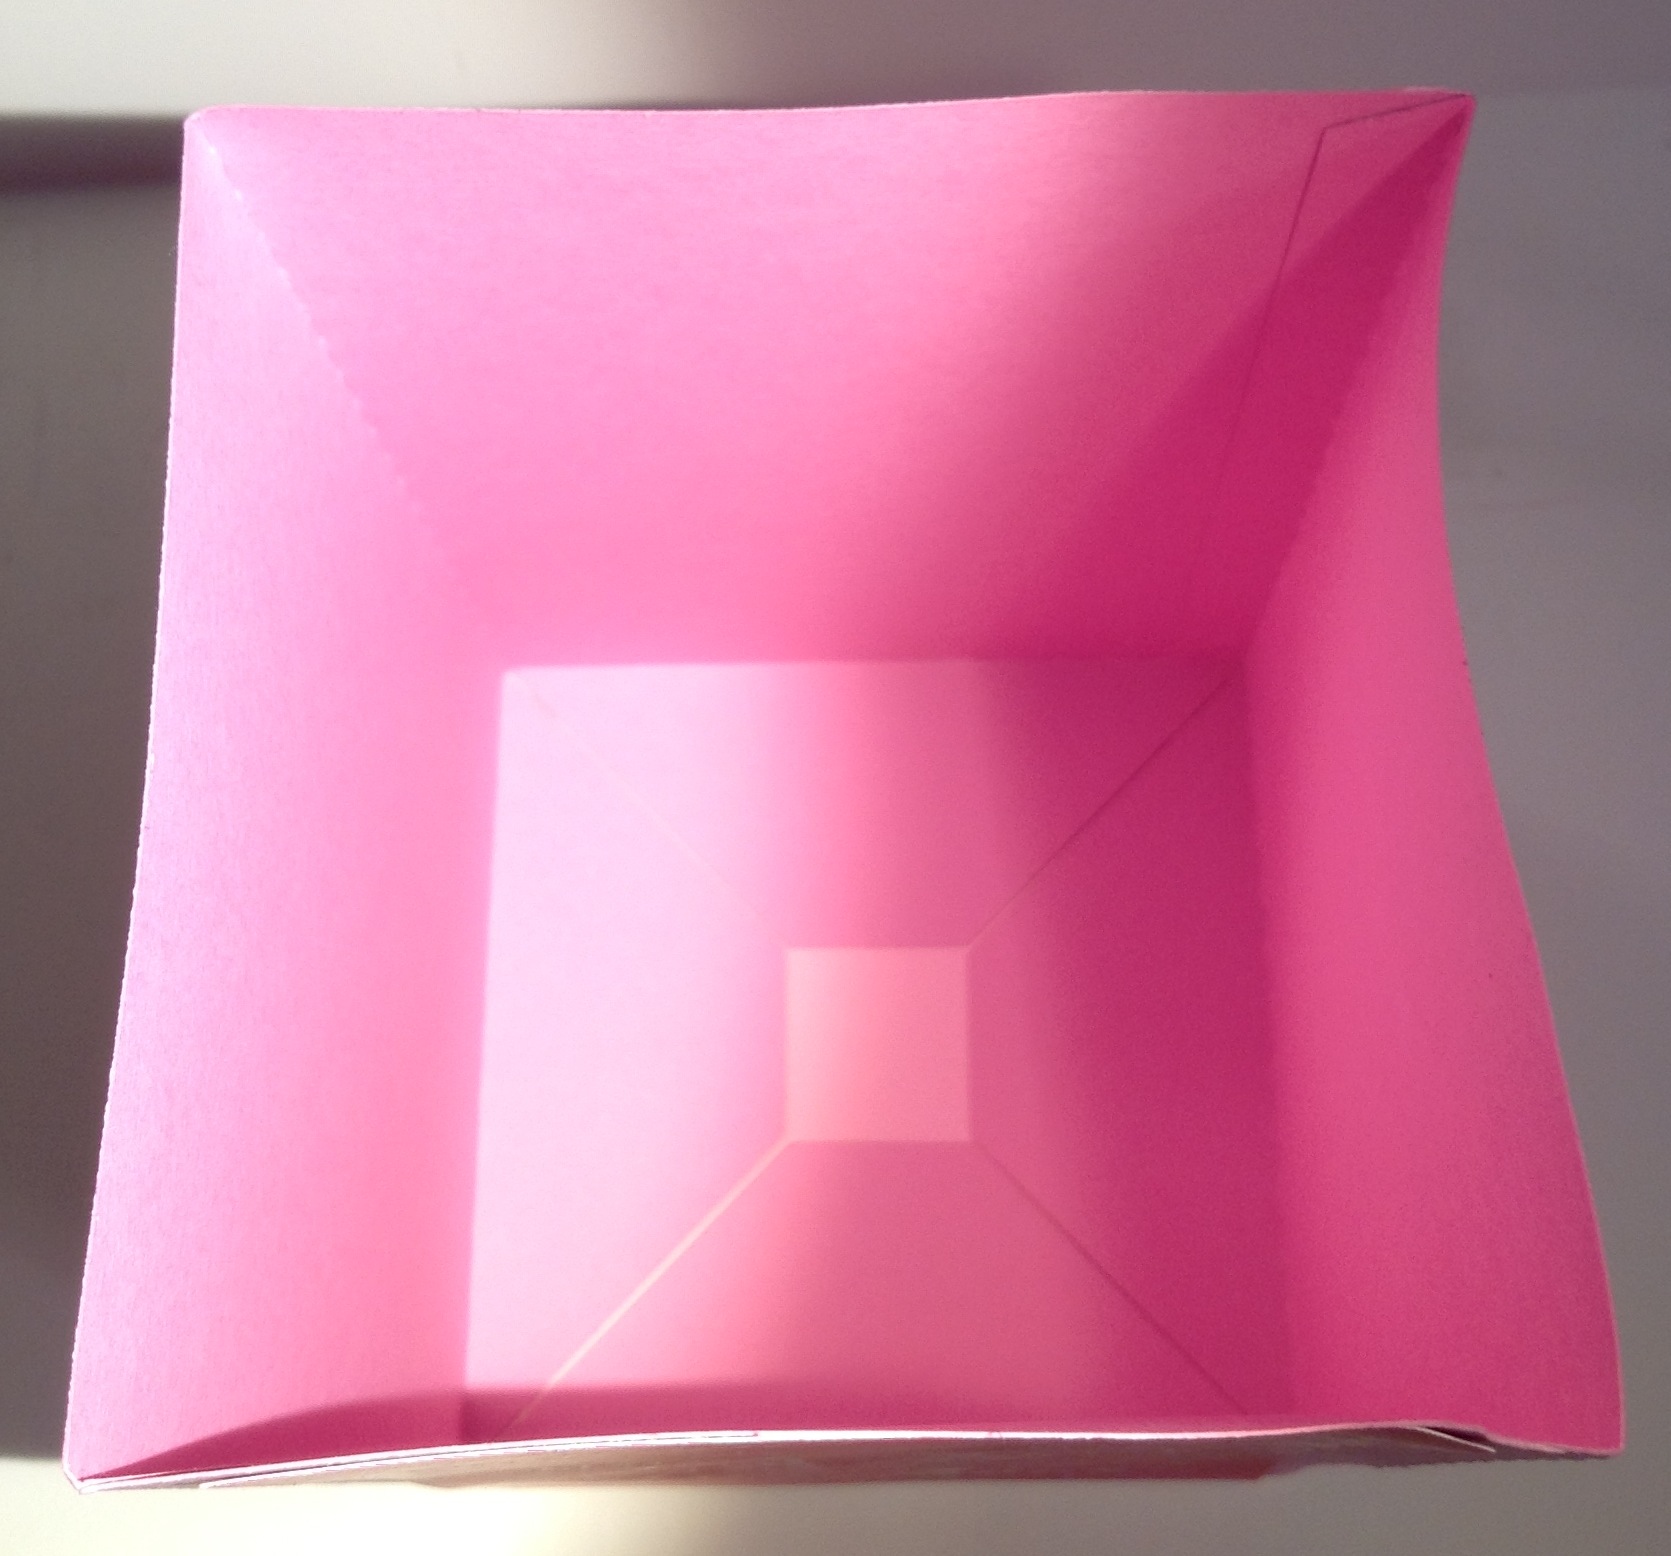
 Step 4. This is now what the inside of your box base should look like when you have completed the previous steps. Tip: I did go back and cut another square piece to put int he bottom of my box but didn’t get a photo of it.
Step 5. Next, assemble the top of the mailbox. There are tabs on the various edges that will fit together. Make sure you put adhesive on all of those pieces BEFORE you start assembling. Tip: Don’t forget to adhere the decorative paper to BEFORE you assemble the top.

The square you see here is the extra piece I cut for the inside of the box. The two other scallop pieces shown are the side pieces to the top that fit together with the slot piece.

Step 6. Here is the assembled mail box top. I just love those scallops on it.

Step 7. Next you need to assemble the decorative heart and spinner piece that goes the front of the mailbox. Tip: I used an embossing folder to emboss the heart, then added the spinner piece and a little red gem stone. I also used foam dots to pop up the heart piece on the front of the box.

Step 8. Carefully slide the top piece onto the bottom piece…yes I know that’s obvious but if I don’t put that in the directions it just doesn’t seem complete !
And now I am ready to get some Valentines delivered to my very own Valentines Mailbox ! Even if I don’t put actual Valentines in it, it will look adorable as a decoration in my Valentines display.

All my comments are my own opinions on those products. I appreciate your support when you purchase using the post links.
Hinda
Can this be made a the cricut explore?
Debbie
Yes Hinda – you could certainly make something similar on the Cricut Explore. One of the boxes in Tags Bags Boxes and More 2 is very similiar. I am working on one to show on my blog so stay tuned for those details this week !